ReStory: Chill Electronics Repairs Interactive Parts Checklist
Tick common components and repair steps so nothing vanishes between teardown and return.
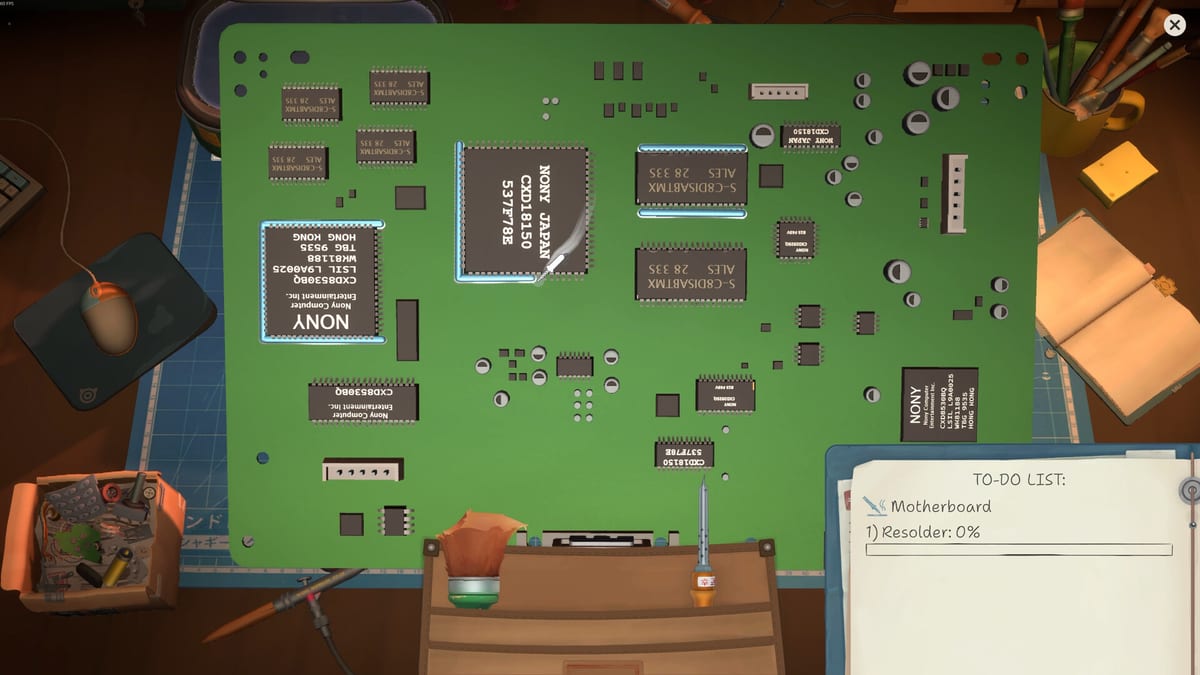
Lost screws, forgotten flex cables, and mystery capacitors are the unspoken boss fights of ReStory: Chill Electronics Repairs. Mandragora simulates satisfying teardown depth, but the game will not pause your in-game day while you hunt a tri-wing fastener that rolled behind the monitor. This page hosts an interactive checklist you run beside the game—no save editing, no spoilers—so each job stays organized from intake to return dialogue.
Before you scroll to the widget, read how it fits the wider repair loop from How to Repair Devices and How to Get Spare Parts.
When to open the checklist
Use it whenever a device has more than one layer or when you accept parallel jobs:
- Licensed Atari controllers with duplicate joysticks (First Days walkthrough)
- Flip phones with hinges and ribbon cables (Hana’s arc in Characters)
- Cameras with battery corrosion (Grandma Chiyo)
- Audio players with fragile storage (Kenji)
Skip it for trivial one-screen cleaning jobs early in the tutorial—though ticking habits help before difficulty spikes on Device difficulty.
How the checklist works
The embedded tool below splits tracking into common spare parts and repair workflow steps. Each row is a manual tick box:
- Before teardown — Glance at the parts section and mark items you already pulled from stock or salvage.
- During disassembly — Tick screws, panels, and cables as they come off; order matches the workflow section.
- Before reassembly — Unticked rows highlight gaps; cross-check the browser tab you used for orders per Shop management.
- After return — Hit reset to clear the board for the next intake.
Progress saves in your browser session only. Refreshing the wiki page clears ticks—intentionally lightweight so nothing conflicts with Steam saves.
Pair with unlock and sourcing guides
Checklist rows assume you already unlocked the matching bits from Tool unlocks. If a step stays red because you lack a license, defer the job and read How to Unlock Licenses instead of forcing the case open.
Sourcing strategy matters: buying new screens for every phone drains yen Hashimoto expects for rent. Salvage donors when Beginner tips recommend it, but note donor condition in the checklist notes mentally—mixing corroded batteries with Chiyo’s camera job is a common mistake.
Interactive checklist
Open this section on a second monitor or Steam overlay browser. Click each item as you complete it; the progress bar reflects how much of the template you have verified for the current device.
Repair parts checklist
Tick common parts and steps while you work a job.
Completed: 0 / 0
Common spare parts
Repair workflow
Mapping checklist sections to device types
| Device family | Parts to watch | Workflow emphasis |
|---|---|---|
| Phones / flip phones | Hinge screws, flex, LCD, battery | Panel order; power-off before battery |
| Handhelds / PMP | Shell clips, screen lens, port dust | Clip direction; avoid stripped posts |
| Consoles / controllers | Security bits, joysticks, pads | Label identical parts; shelf storage |
| Cameras | Capacitors, light seals, battery tray | Corrosion PPE; photo backup ethics |
| Media players | Storage, headphone jack, belts | Data retention choices with Kenji/Kazuo |
Story beats may add non-mechanical rows—encrypted partitions on Kazuo’s player, private messages on Hana’s phone. Those belong in Story choices, but noting “inspection complete” on the workflow side prevents returning hardware before you have chosen an ethical response.
Quality-of-life ties to the launch patch
Inventory filters from the launch patch reduce time spent hunting owned parts, but they do not replace physical teardown tracking. The checklist covers bench state, not save data. Dialogue history from the same patch helps if a customer mentioned a special screw—review lines on Controls before ticking reassembly complete.
If you still lose parts in-game
Community reports at launch described joysticks appearing as boxes on shelves after glitches. Before filing a bug report:
- Scan all shelves and the parts box noted in How to Repair Devices
- Manual save and reload once
- Confirm you did not drop components into the salvage bin intentionally
The checklist reduces human error; it cannot fix engine edge cases.
Related wiki paths
- Tools hub — unlock and upgrade planners
- Upgrade priority — when to buy storage that makes checklists easier
- Walkthrough hub — story jobs with unusual part requirements
- Achievements — completion habits tied to thorough repairs
Treat the checklist as a shop clerk’s notepad: humble, repeatable, and the difference between a calm return conversation and a embarrassed second intake visit.
Frequently Asked Questions
Quick answers for ReStory players.
Does the checklist connect to my Steam inventory?
No. You tick items manually while playing. It is a planning aid on this wiki, not a mod or save editor.
Will checklist progress persist after I close the browser?
Only for the current session in most setups. Finish or reset before walking away from a half-repaired device in-game.
Should I use the checklist on every email job?
Use it when jobs involve multiple screws or cables. Simple cleaning tasks may not need the full template.
Where do I learn which parts to buy beforehand?
Read How to Get Spare Parts and Tool Unlocks. Stock common capacitors and screens before story appointments when possible.